We make it quick and easy for you to edit or disable auto-relisting for your ads.
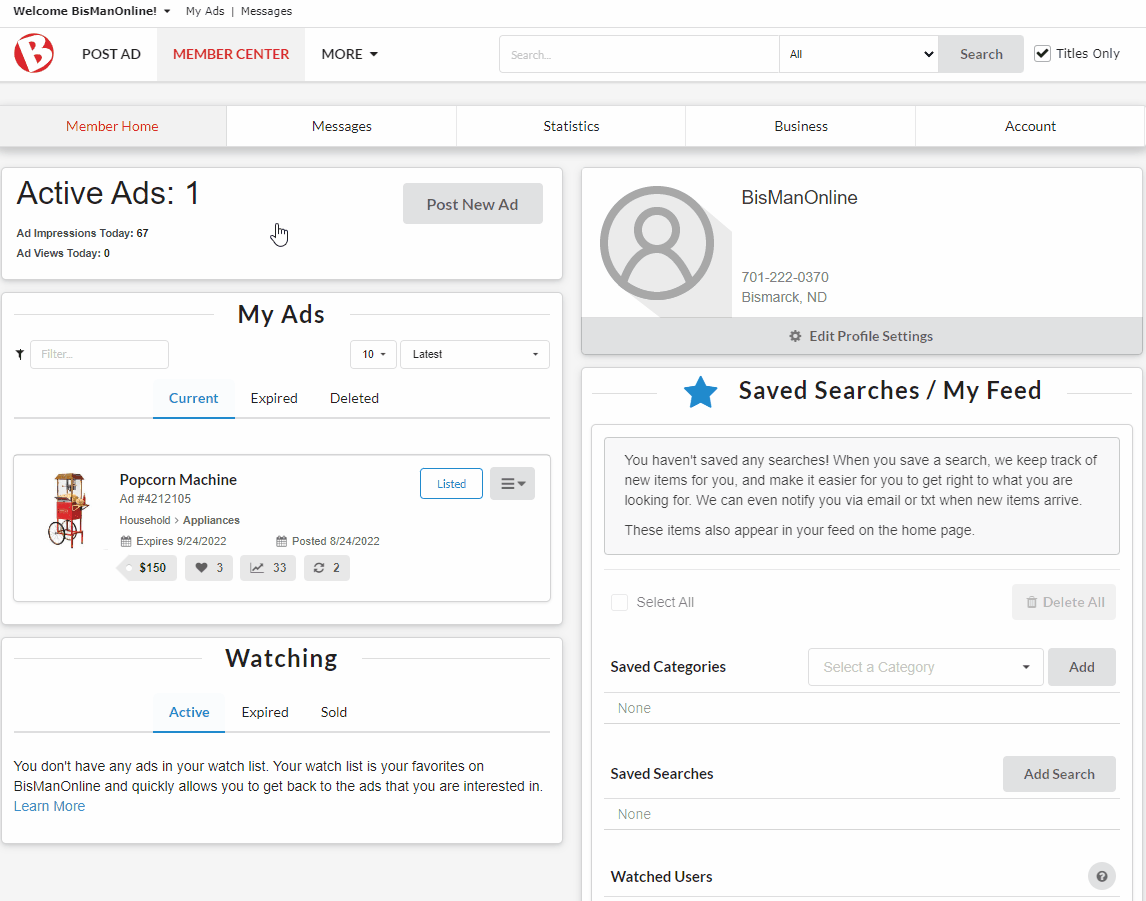
Click ‘Member Center.’
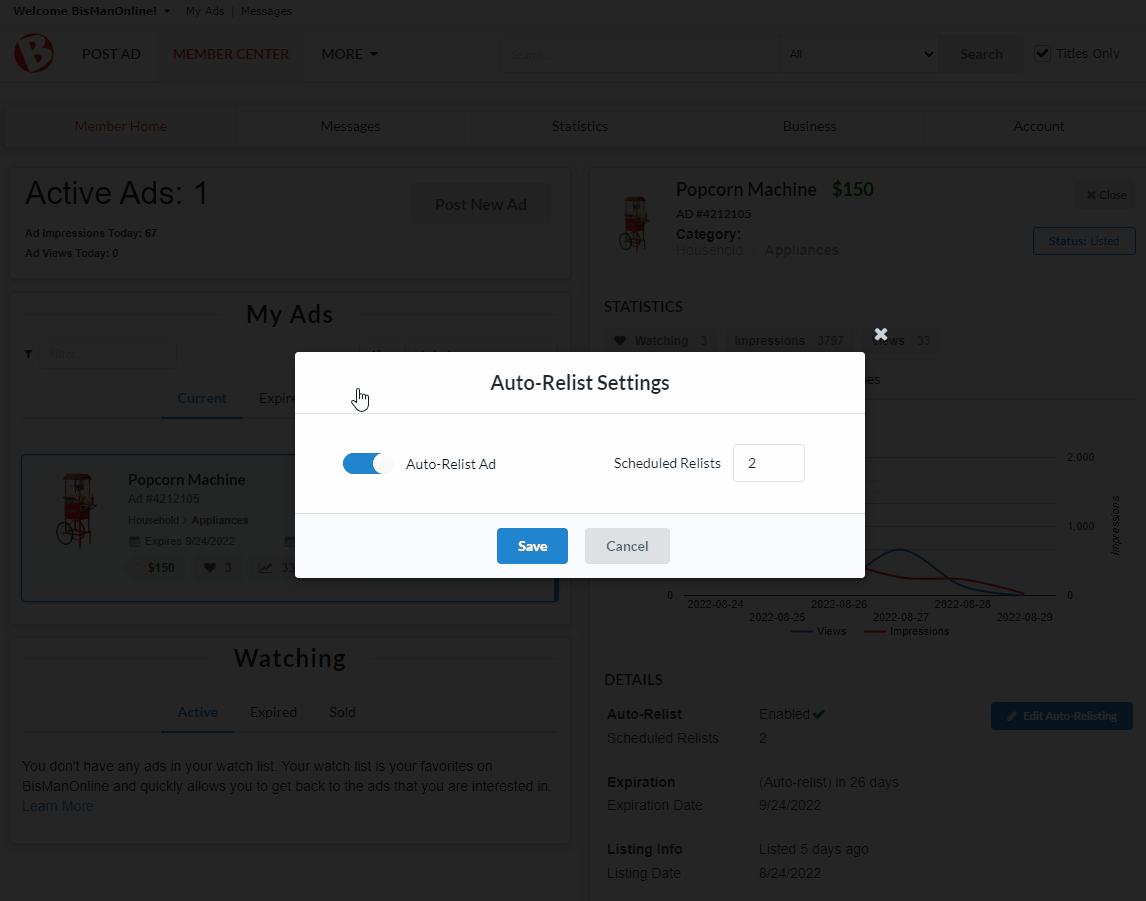
Click on the ad that you would like to disable auto-relisting for. In the ad-preview panel that opens on the right side, click the ‘Edit Auto-Relisting’ button in blue.
In the ‘Auto-Relist Settings’ window that opens, click the ‘Auto-Relist Ad’ toggle to disable it. When the toggle is disabled, it will turn grey. Click ‘Save’.
‘Auto-Relist’ should now display as ‘Disabled’ in your ad-preview panel under ‘Details.’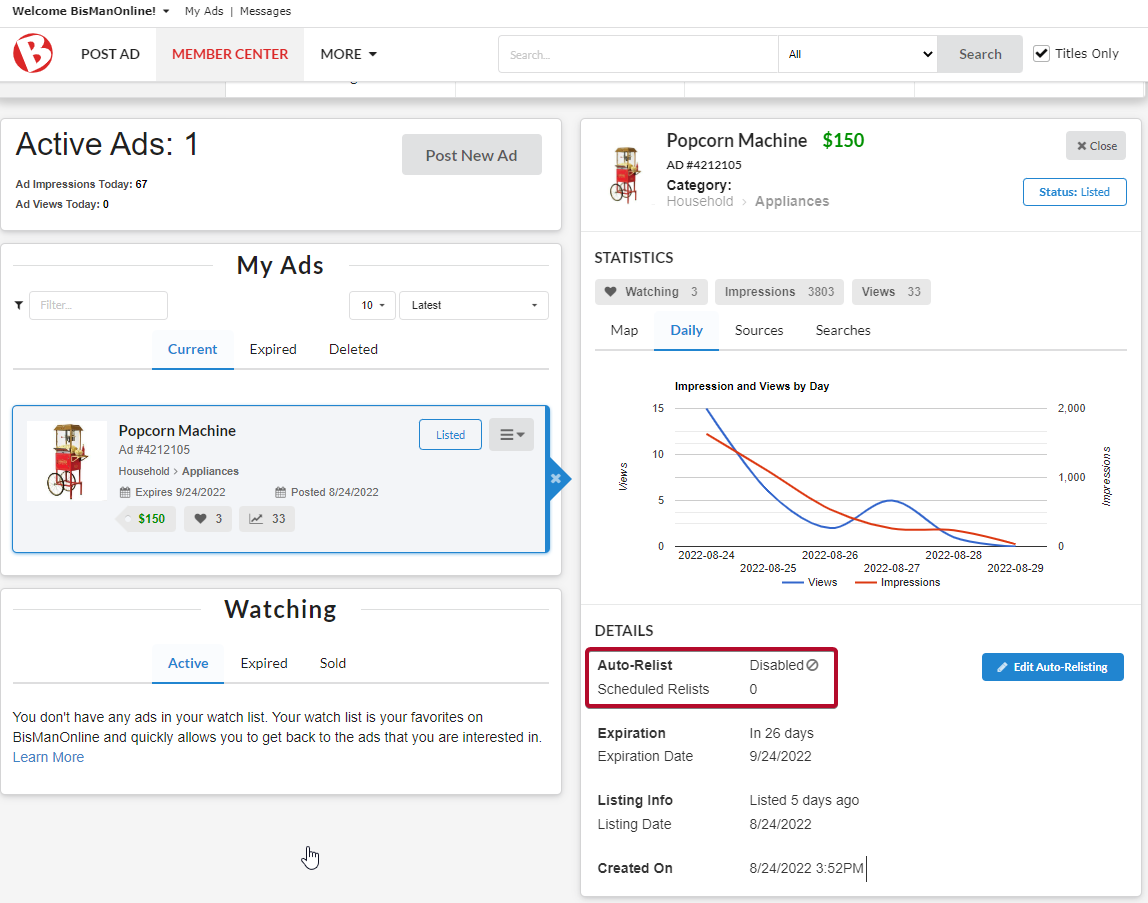
If you would like to edit your scheduled auto-re-lists, click the ‘Edit Auto-Relisting’ button in blue, then change the number of relists in the ‘Scheduled Relists’ text box (any number 1 through 6). Once your are done, click ‘Save.’
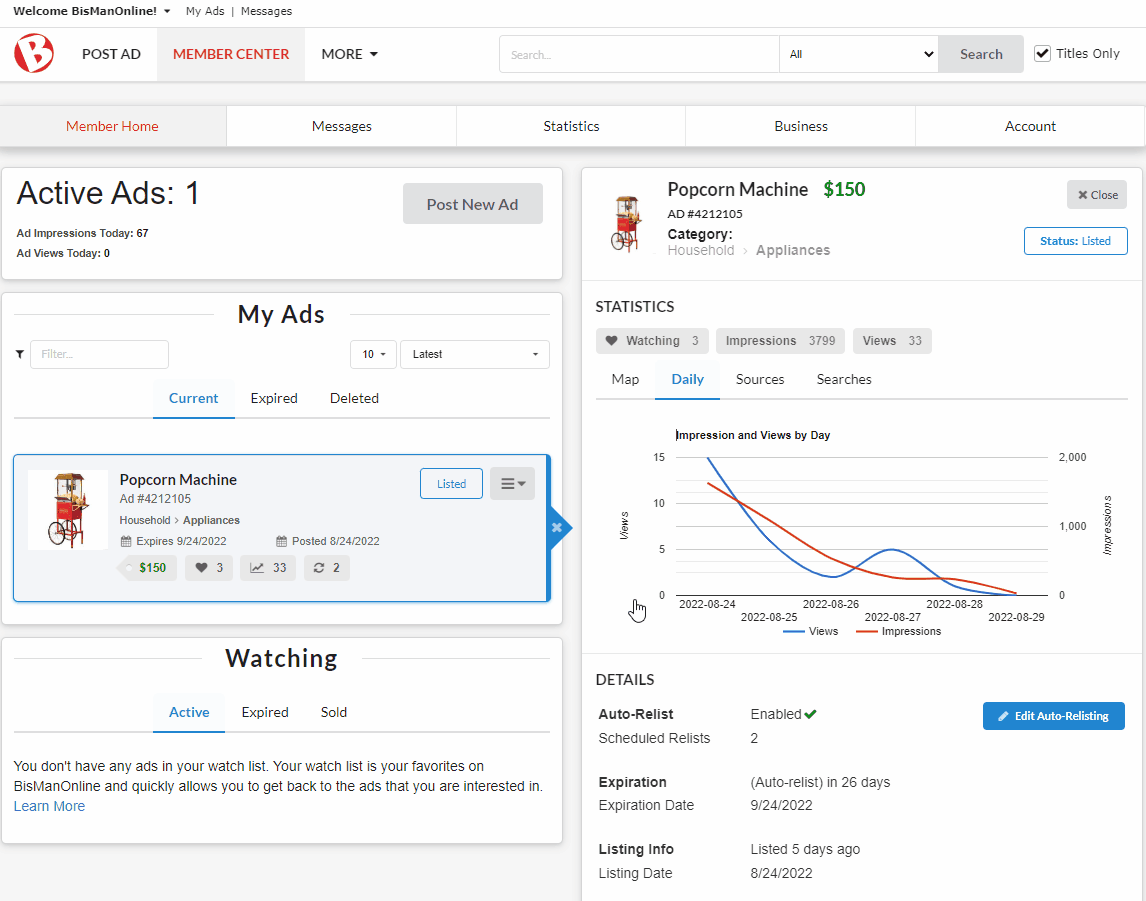
In the ad-preview panel on the right side, under ‘Details’, the ‘Scheduled Relists’ will update to reflect your change.
We make it quick and easy for you to cancel your auto re-list.
Click the Member Center icon.
Click ‘My Ads.’
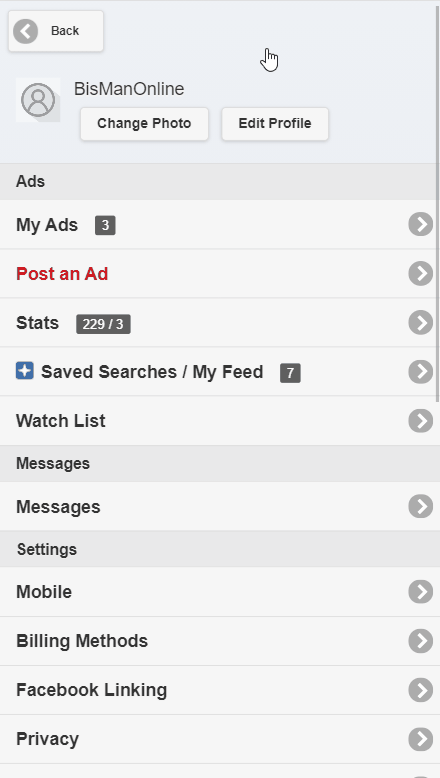
Click on the ad that you’d like to cancel the scheduled auto re-list for.
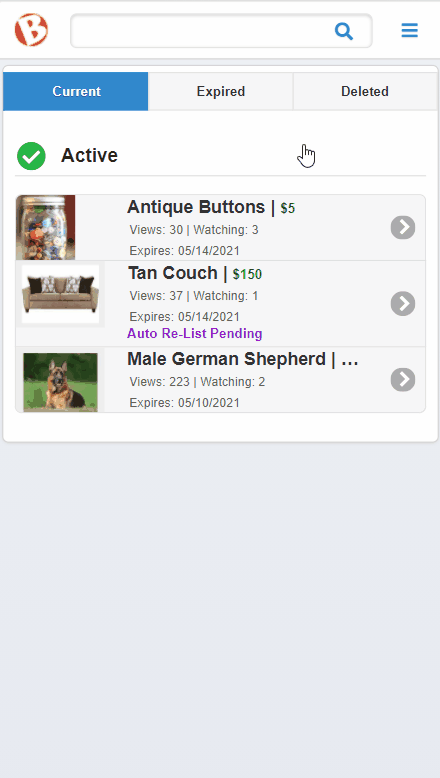
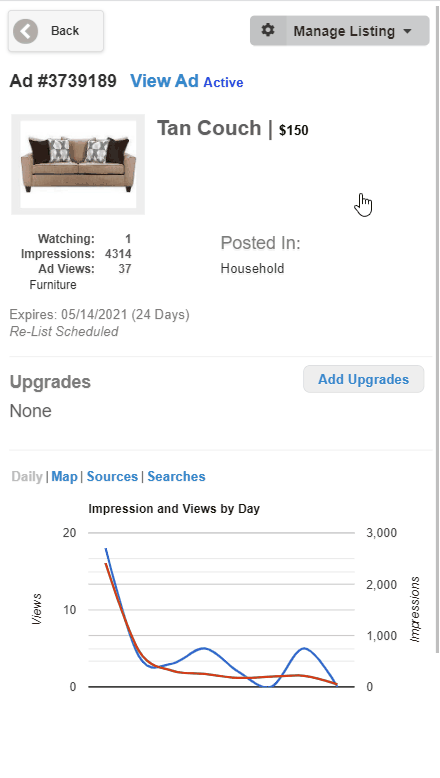
Click the ‘Manage Listing’ drop-down menu, then select ‘Cancel Auto Re-List.’
We make it quick and easy for you to cancel your auto re-list.
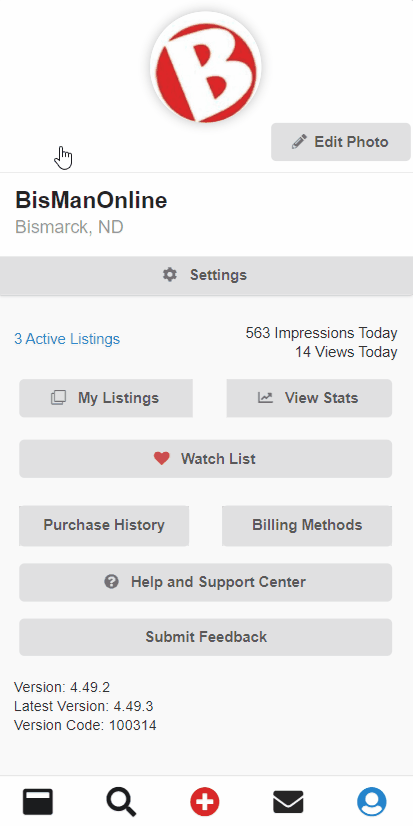
Click the Person icon.
![]()
Click ‘My Listings.’
Click on the ad that you need to cancel the scheduled auto re-list for. Click ‘Cancel Auto Re-List.’ You will know you were successful when the button updates to ‘Schedule Auto Re-List.’