BisManOnline makes it easy for you to relist your ad at any time!
Log in to your account if you have not yet done so. Click ‘Member Center.’
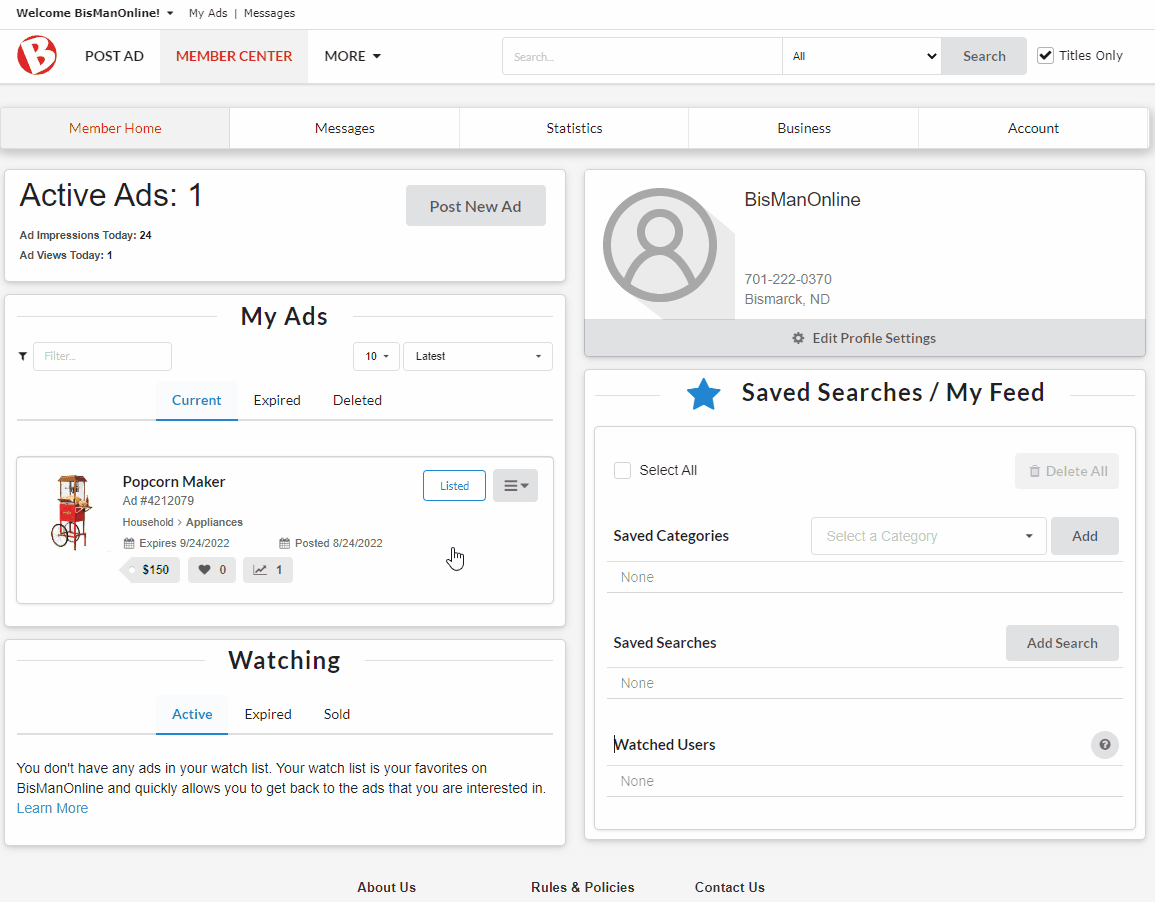
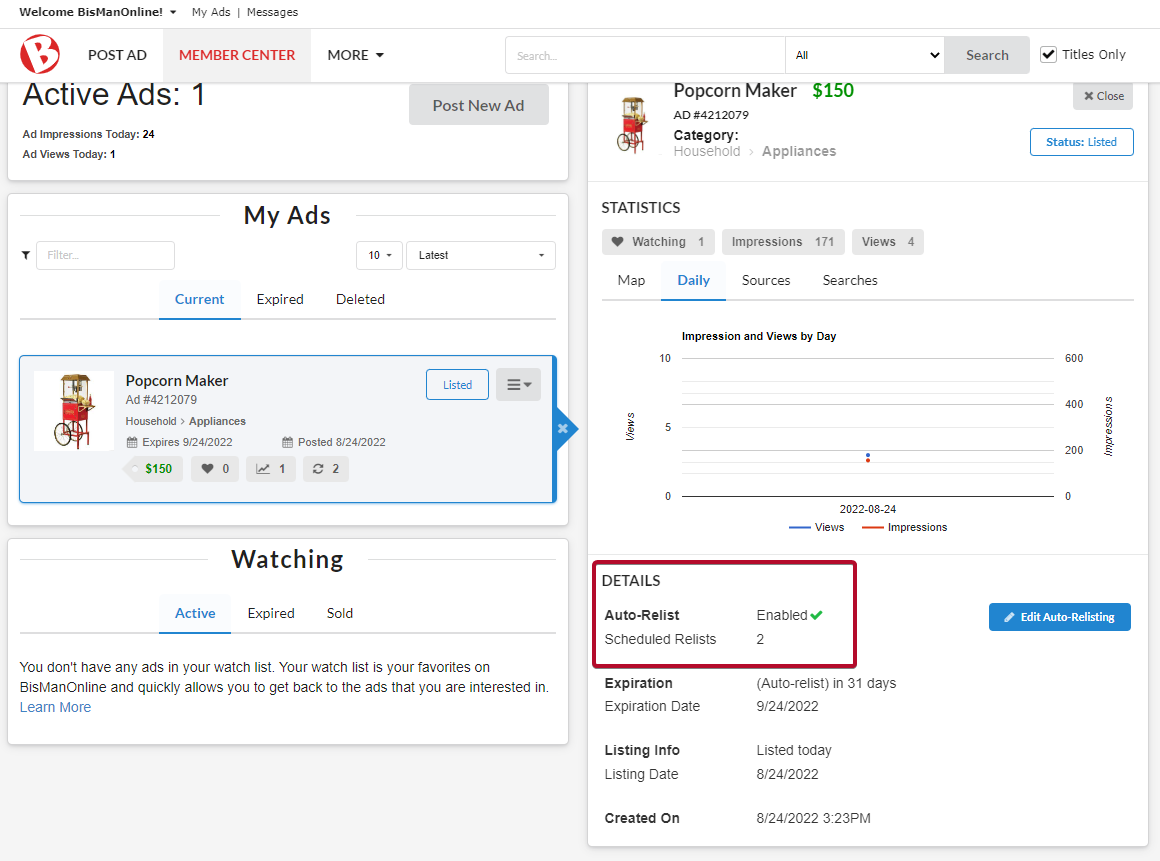
Under ‘My Ads,’ click on the ad that you would like to schedule for auto-relisting. In the right ad-preview panel that opens, click the ‘Edit Auto-Relisting’ button in blue.
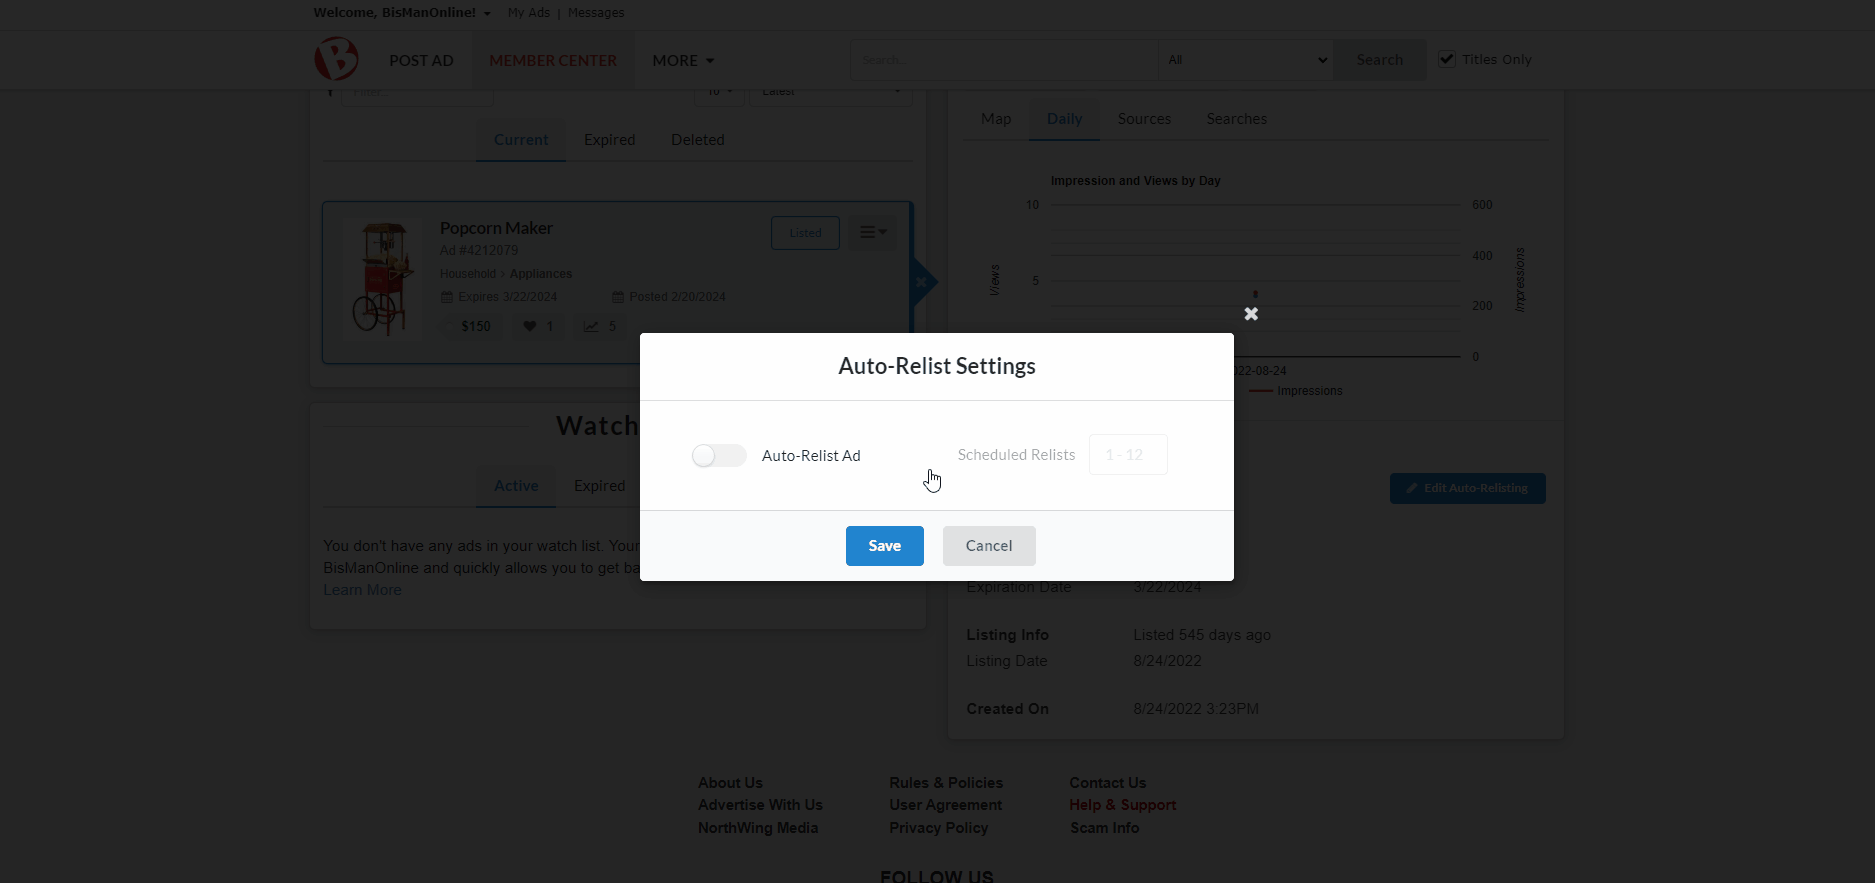
In the ‘Auto-Relist Settings’ window that opens, click to enable the ‘Auto-Relist Ad’ toggle. When the toggle is enabled, it will turn blue. Enter the number of times you would like your ad to relist in the ‘Scheduled Relists’ box (any number 1 through 12), then click ‘Save.’ Your ad will automatically relist every 30 days, for as many times as you have scheduled.
You can preview the details of your auto-relist settings in the ad-preview panel, by clicking on your ad under ‘My Ads’ in your Member Center.
After the set number of auto-relists has been achieved, your ad will expire. You can relist your ad from your ‘Expired’ list under ‘My Ads’ in your Member Center. If you would like to schedule your ad for auto-relisting again, you can do so, repeating the steps above. For assistance relisting your ad, please visit our help page here.
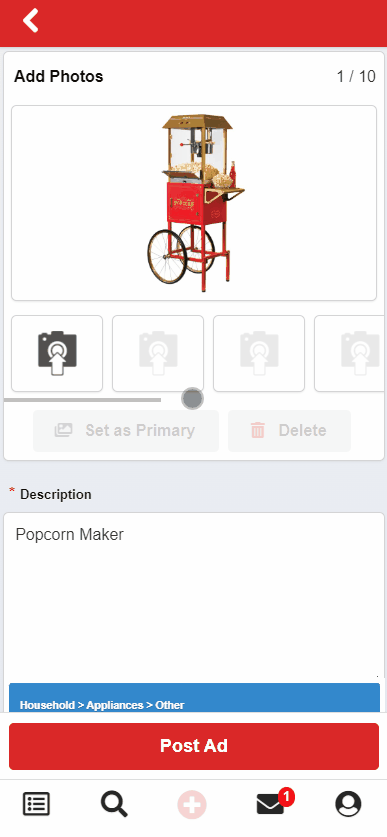
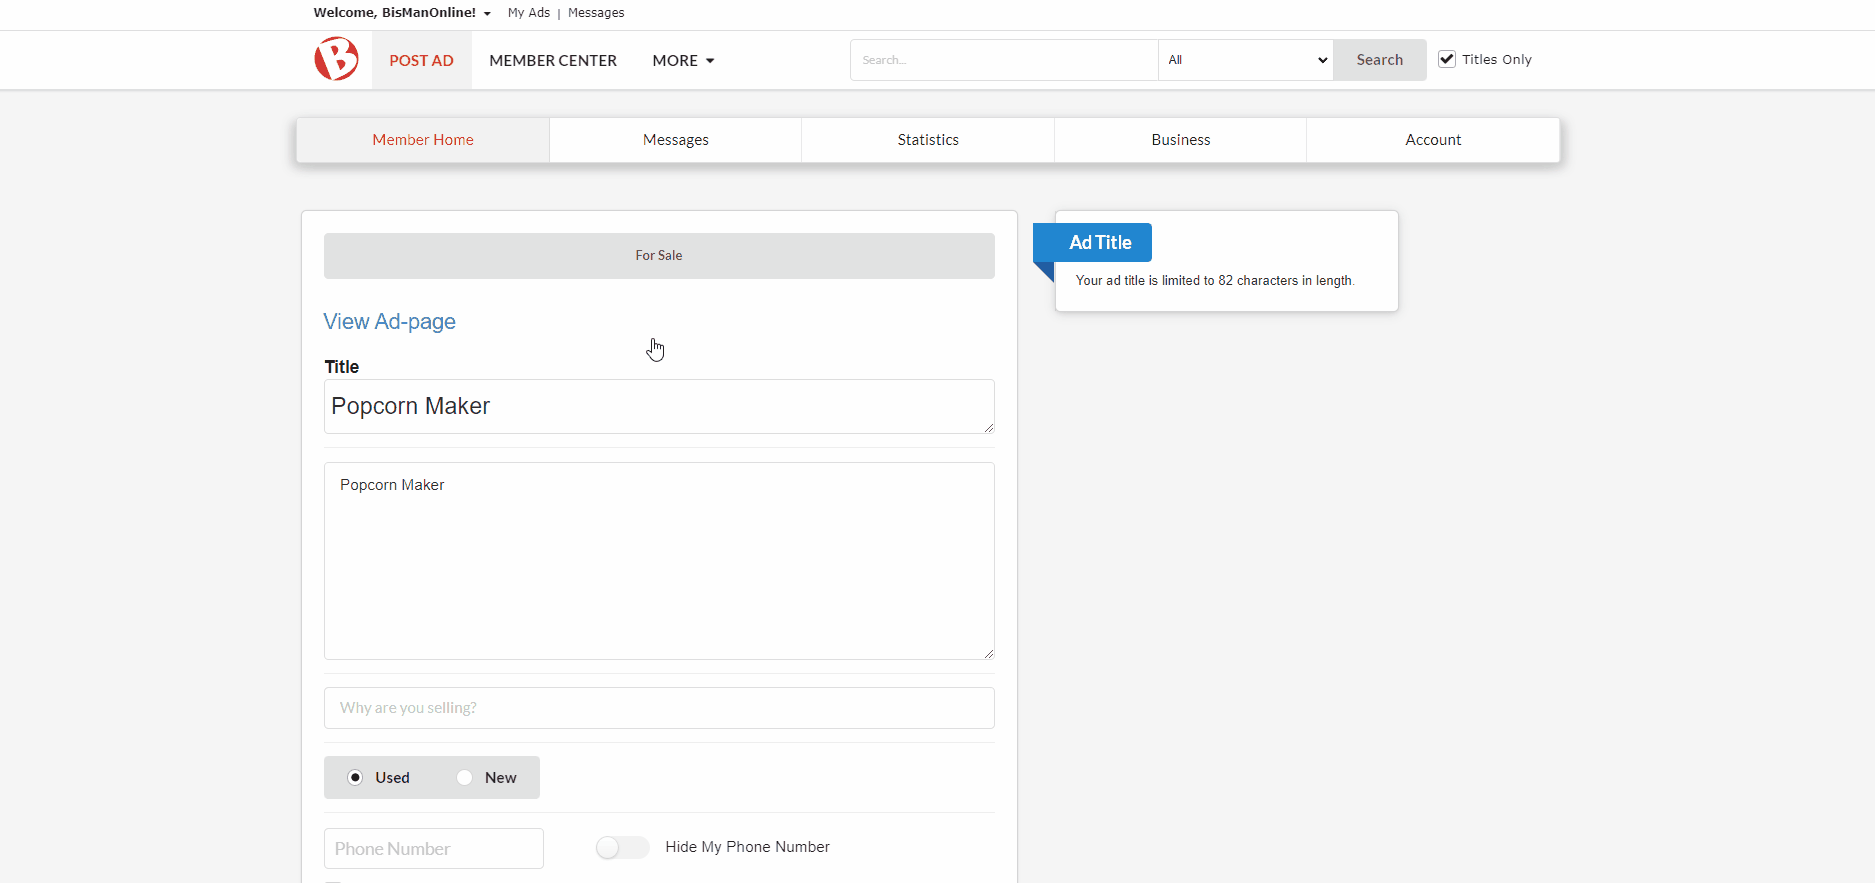
You can also schedule auto-relisting during the ad creation process. On the ad creation page, underneath the section for adding photos, click to enable the ‘Auto-Relist Ad’ toggle. When the toggle is enabled, it will turn blue. Enter the number of times you would like your ad to relist in the ‘Scheduled Relists’ box (any number 1 through 12). Make sure the rest of your ad is complete, then click the ‘Submit Post’ button in blue. For assistance posting an ad, please visit our help page here.
BisManOnline makes it easy for you to re-list your ad at any time!
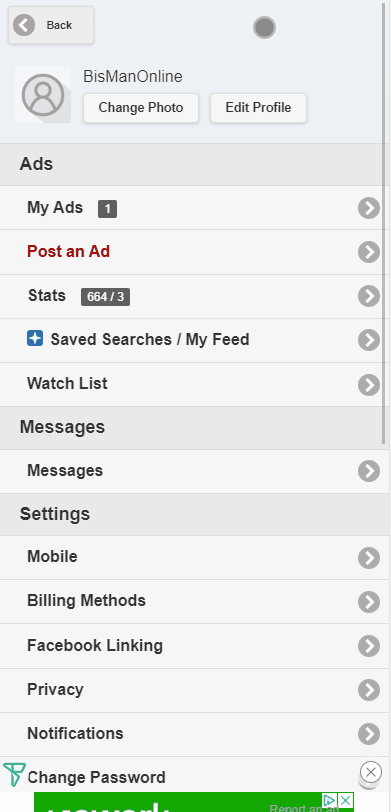
Log in to your account if you have not yet done so. Click the Member Center icon.
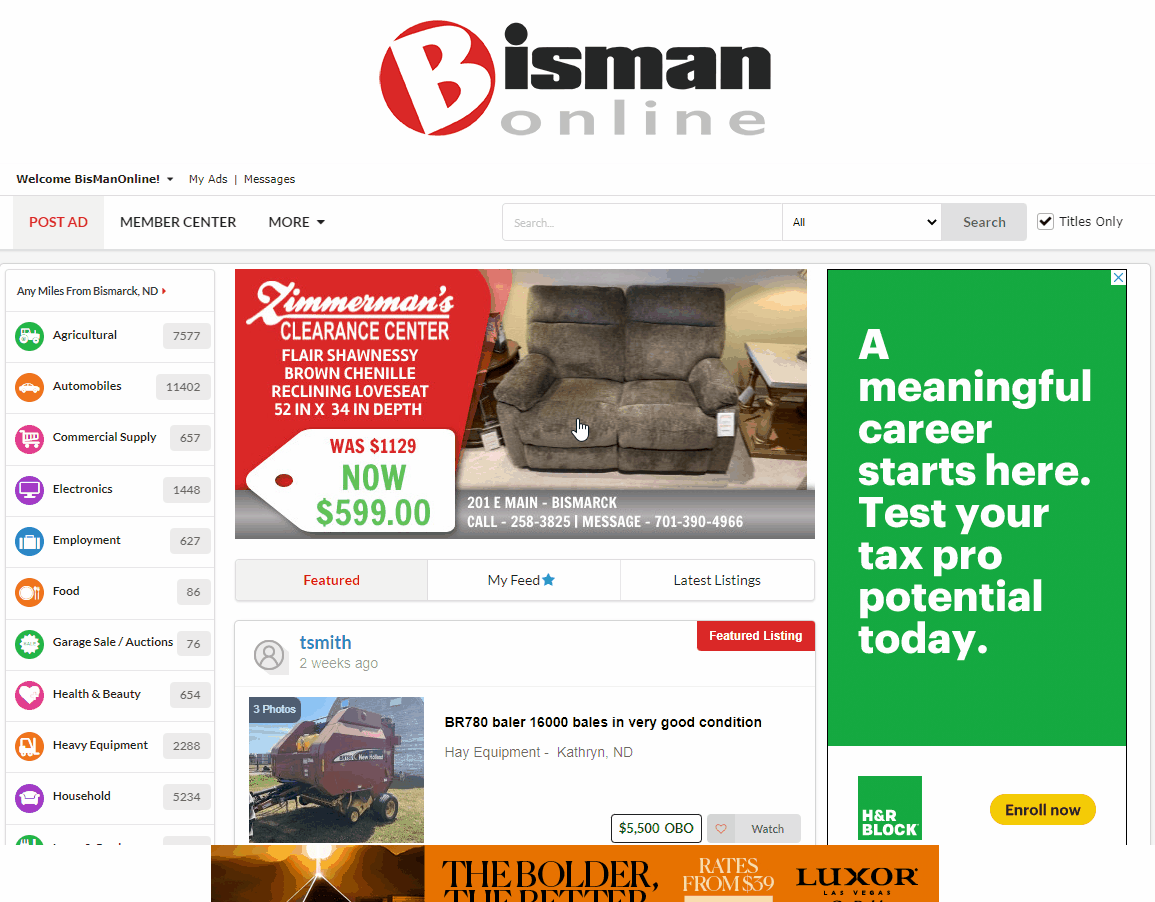
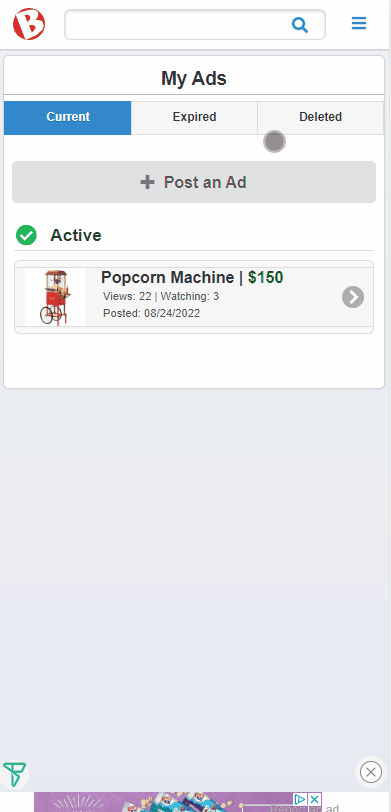
Click ‘My Ads.’
Click on the ad that you’d like to schedule for auto-relisting.
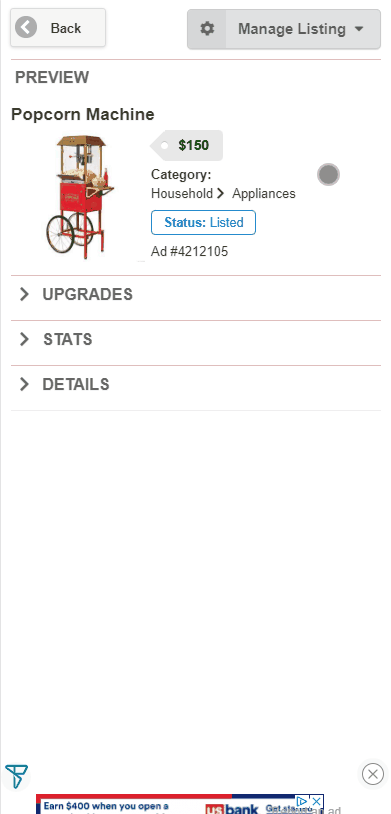
Click the ‘Manage Listing’ drop-down menu, then select ‘Set Auto-Relist Settings.’
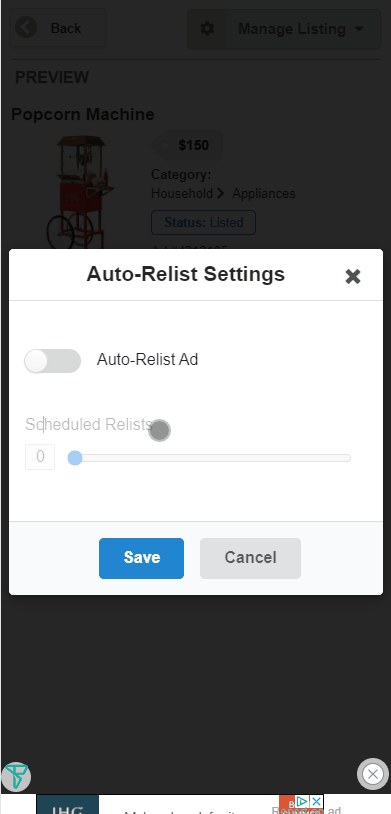
In the ‘Auto-Relist Settings’ window that opens, click to enable the ‘Auto-Relist Ad’ toggle. When this toggle is enabled, it will turn blue. Next, use the ‘Scheduled Relists’ slider to select the number of relists you would like to schedule, any number 1 through 12, then click ‘Save’. An ad will auto-relist every 30 days, for the number of relists you have scheduled.
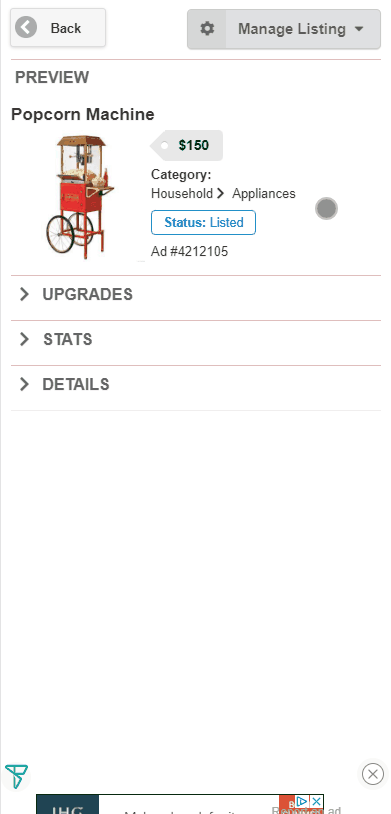
You can preview the details of your auto-relist settings by clicking ‘Details’.
After the set number of auto-relists has been achieved, your ad will expire. You can relist your ad from your ‘Expired’ list under ‘My Ads’ in your Member Center. If you would like to schedule your ad for auto-relisting again, you can do so, repeating the steps above. For assistance relisting your ad, please visit our help page here.
You can also schedule auto-relists during the ad creation process. On the ad creation page, right above the section for adding photos, click to enable the ‘Auto-Relist Ad’ toggle. When the toggle is enabled, it will turn blue. Use the ‘Scheduled Relists’ slider to select the number of times you would like your ad to relist (any number 1 through 12). Make sure the rest of your ad is complete, then click the ‘Submit Post’ button. For assistance posting an ad, please visit our help page here.
BisManOnline makes it easy for you to re-list your ad at any time!
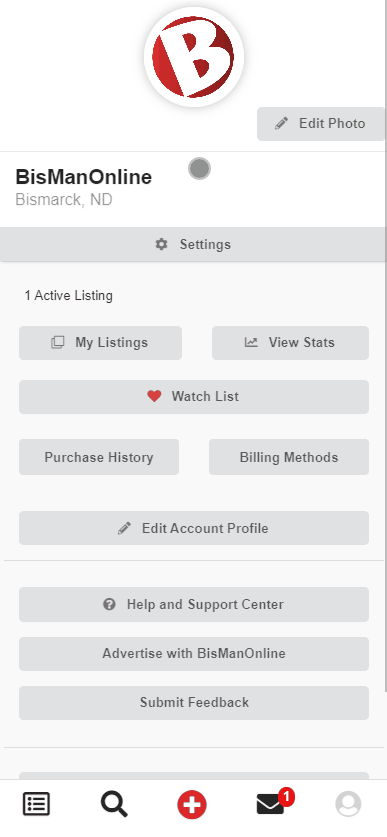
Log in to your account if you have not yet done so. Click the Person icon.
![]()
Click on ‘My Listings.’
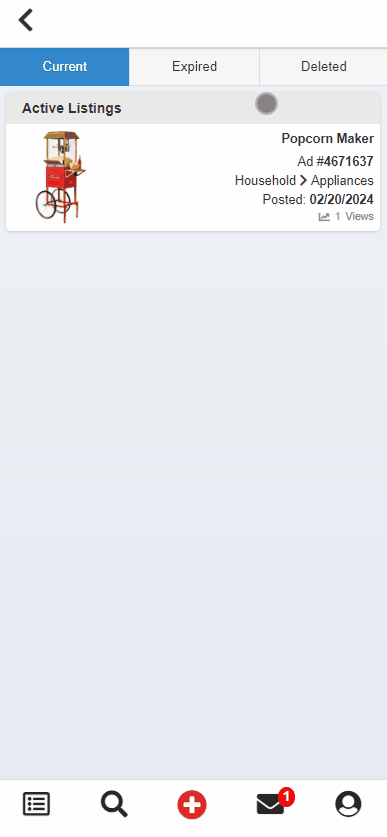
Click on the ad that you’d like to schedule for auto-relisting.
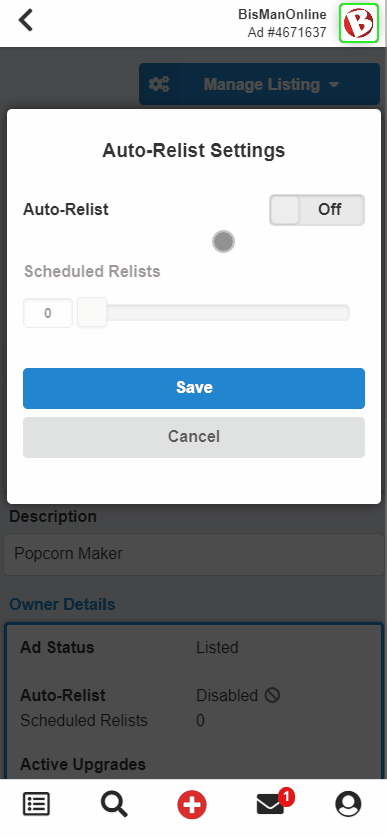
Click the ‘Manage Listing’ drop-down menu, then select ‘Auto-Relist Settings.’
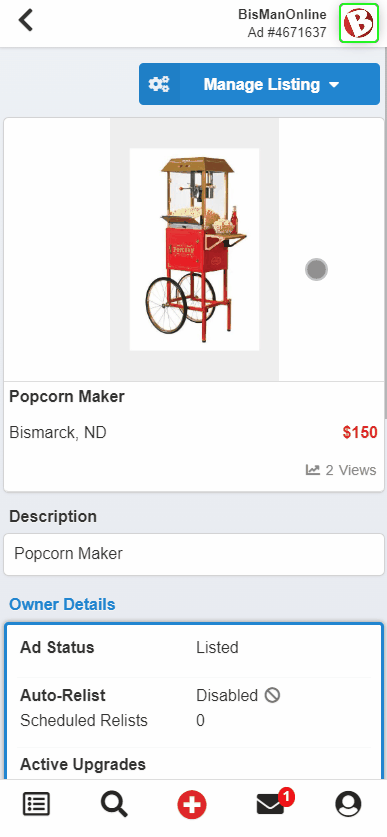
In the ‘Auto-Relist Settings’ window that opens, click to enable the ‘Auto-Relist’ toggle. When this toggle is enabled, it will turn blue. Next, use the ‘Scheduled Relists’ slider to select the number of relists you would like to schedule, any number 1 through 12, then click ‘Save’. An ad will auto-relist every 30 days, for the number of relists you have scheduled.
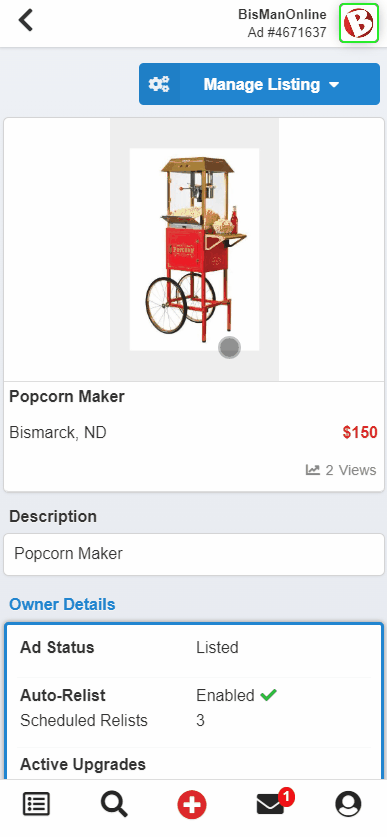
You can preview the details of your auto-relist settings by scrolling down to the ‘Owner Details’ section.
After the set number of auto-relists has been achieved, your ad will expire. You can relist your ad from your ‘Expired’ list under ‘My Listings’ under the Person icon. If you would like to schedule your ad for auto-relisting again, you can do so, repeating the steps above. For assistance relisting your ad, please visit our help page here.
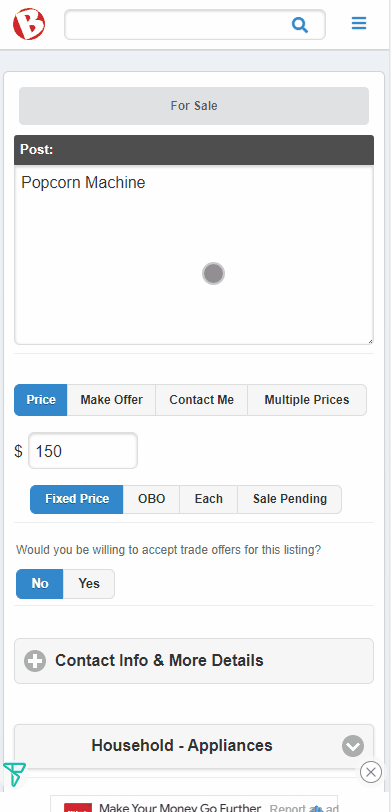
You can also schedule auto-relists during the ad creation process. On the ad creation page, right after you enter the price, click to enable the ‘Auto-Relist’ toggle. When the toggle is enabled, it will turn blue. Use the ‘Scheduled Relists’ slider to select the number of times you would like your ad to relist (any number 1 through 12). Make sure the rest of your ad is complete, then click the ‘Post Ad’ button. For assistance posting an ad, please visit our help page here.